When I work with clients, I like to be able to offer them a few design options and then modify and narrow down
the options. My initial attempts at designs were done on graph paper and color pencils. A few years ago, I began to
use CorelDRAW to make the designs.
I learned how to use CorelDRAW 8 to make my designs. In working on commissions, I want the final product to be expected and delight the recipient. It can be extremely hard to communnicate in words the visuals.
My first use of CorelDRAW was to provide better details around the Stellar Crystal quilt. I am probably not using the tool to its full capacity. Each
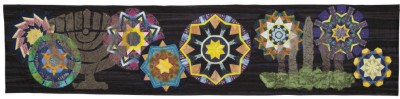
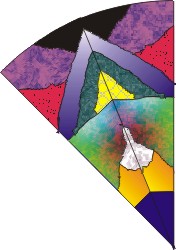
time I learn new things. I will use the commision I completed for Riderwood
Retirement Community to illustrate the process. The final quilt is pictured
below.
One of the biggest advantages to this computer assisted approach is the flexibility it gives me to modify
components of the design. Each kaleidoscope is created as a separate file in CorelDraw.
Each kaleidoscope is made up of a single wedge that I have manipulated. It is at
this level that I can modify the color combinations and textures of the fill
patterns on the wedge.
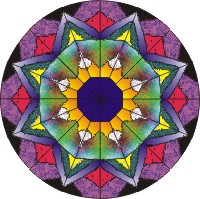
After creating each kaleidoscope circle, I can modify the sizes of pieces. I can
still modify the fill and colors, but this begins to get more complicated. I can
take the individual circles and start playing with them together on a background
area.
To keep the file size down, I will often work with all of the images on a 1:12
scale (one inch is the same as one foot). I can see the relationships between
the circles and print the final design on regular paper for the client to
review. It has also become typical to post the design options on this website
and give the client a direct hyperlink to the page which will be used for
ongoing communication on the project.
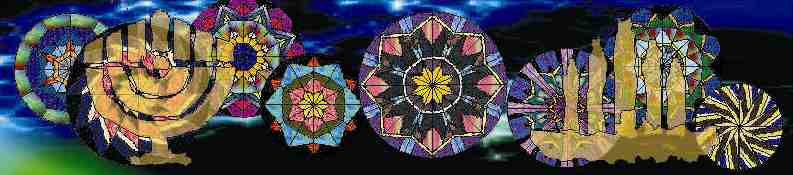
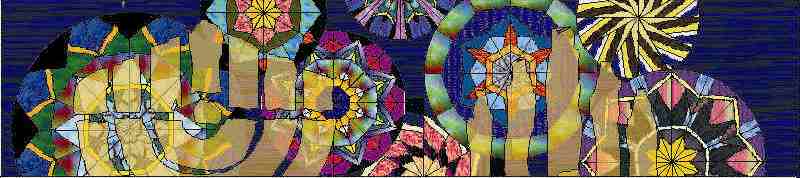
It was very easy to make the following two options:
When the final design has been agreed on, I can resize the pieces and print them
and use them like traditional templates. I generally smooth out some of the
lines on the pieces when I print the templates. If I can, I do the smoothing of
the lines on the computer, but sometimes I just do it on the paper print out. I generally include
the reversed or flipped version of the slice in the printed page to determine if the smoothing I am
considering will work for both.
One of the other advantages with the computer assisted design, in the manner that I do it, is that
I have made all of my choices before cutting fabric and sewing. Sometimes that fact can be both good or
bad. I have to deal with the physical reality of finding fabric that matches the expectation I have made
with the client. I have a good assortment of fabric in my studio so this is generally not a problem.
But, I have run into experiences where I cannot find in my
studio or on the market the exact match.
Thanks to other resources, such as classes that I have taken, magazines or books that I have read, or other
people, I am no longer afraid of doing fabric manipulation on top of commercially available fabrics. It is not
uncommon for me to use stencils, silk screens, stamps, or rubbing plates. I can use Shiva oilsticks or fabric
paints such as Jacquard Lumiere or Neopaques to give me the exact look I am after.
I used to have QuiltPro to do some of the computer design.
I outgrew the software
package many years ago when it would not support fully flexible designs. I know other people use
Electric Quilt to do
their design work. I think these other quilt design tools are easier to work with than CorelDRAW 8;
so, if you are considering moving into computer assisted design you might want to start with one of them.
There are a number of ways to take classes in these focused products and the company websites list the
classes offered. I am comfortable
with what I know. I also like the fact that CorelDRAW and the suite of tools included can be
used to design my own notecards when the work has been completed. Notecards of this piece are available.